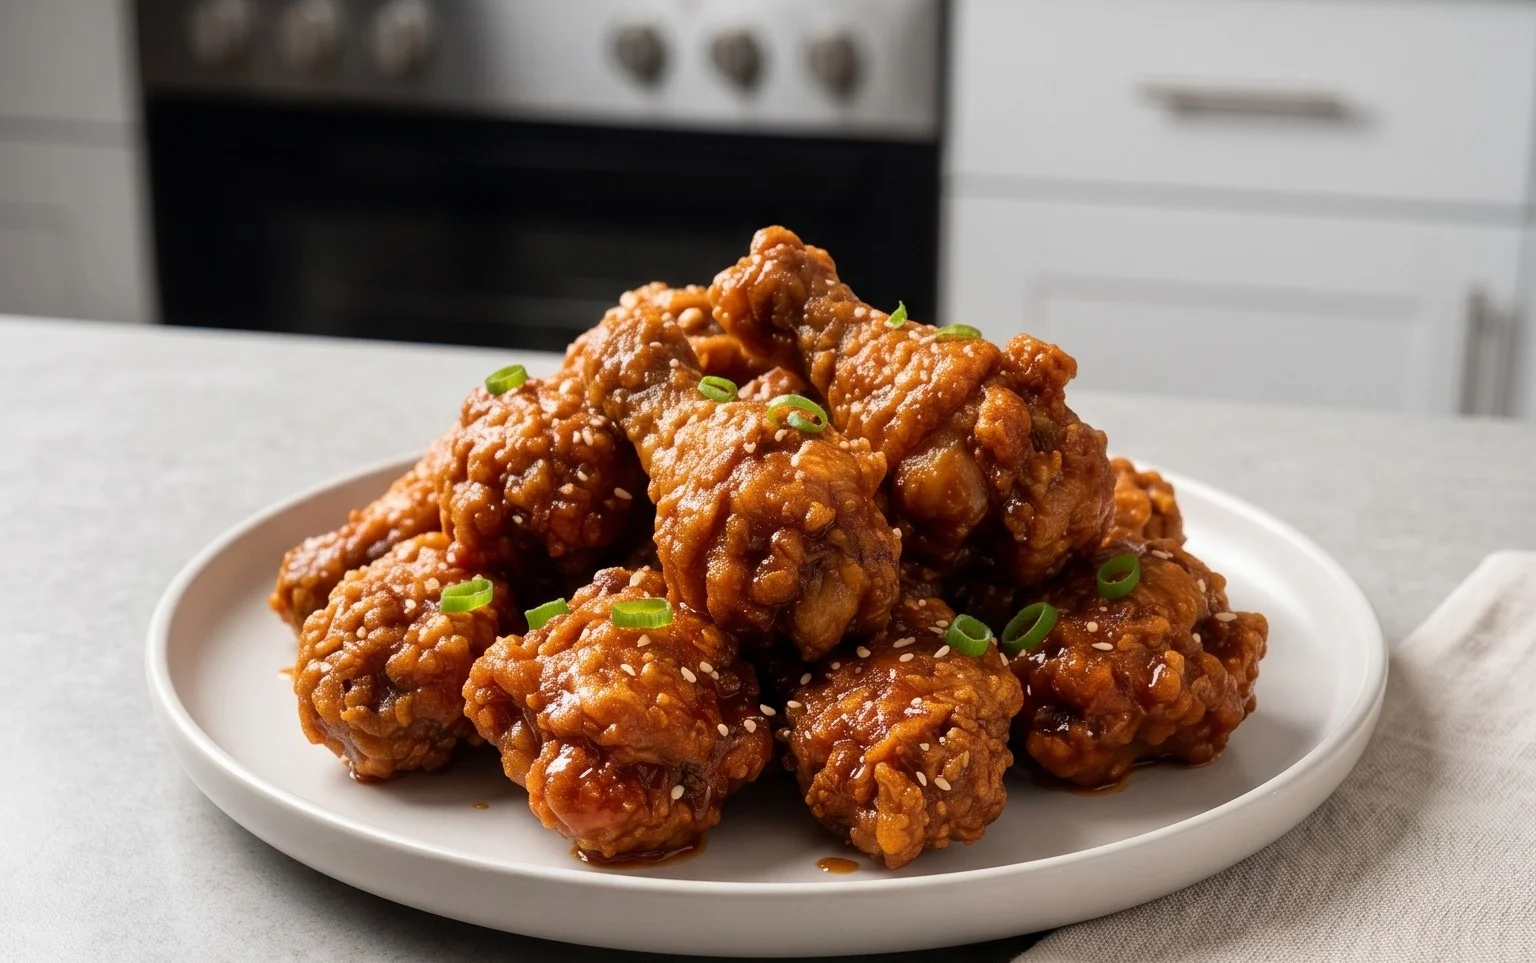
Crispy Korean Fried Chicken Recipe – Your New Favorite Dish
Korean Fried Chicken Recipe is something I’ve been obsessed with for years, and trust me, once you try it, you’ll understand why. This isn’t your average fried chicken; it’s a culinary masterpiece that’s taken the world by storm, and for good reason. What makes Korean Fried Chicken so irresistible? It’s that magical double-fry technique that results in an impossibly crispy, shatteringly thin crust that stays that way, even under a glorious glaze. Imagin extracte bite-sized pieces of juicy chicken, coated in a sticky, sweet, and savory sauce – often with a hint of spicy gochujang. It’s the perfect balance of textures and flavors, making it an addictive treat perfect for sharing (or not!). Get ready to elevate your weeknight dinners or game day snacks with this incredible Korean Fried Chicken Recipe.
Why This Recipe is a Game-Changer
Unlock the Secrets to Perfect Korean Fried Chicken
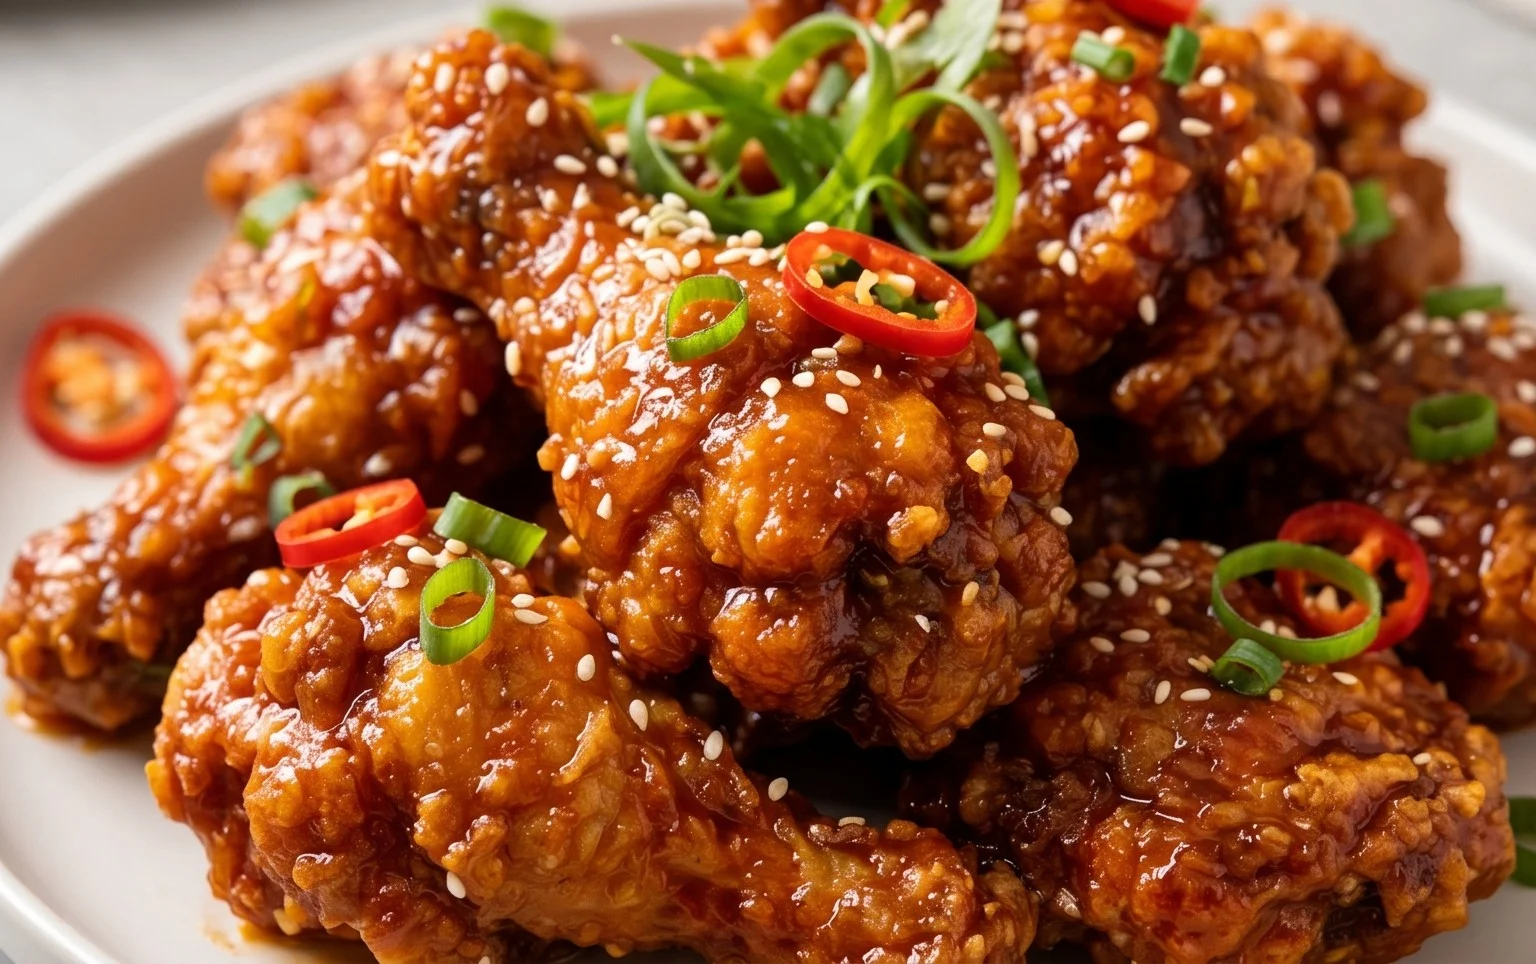
Korean Fried Chicken Recipe
Korean Fried Chicken, or ‘chikin’ as it’s affectionately known in Korea, is a global phenomenon for a reason. It’s not just fried chicken; it’s an experience. Imagin extracte incredibly crispy, shatteringly thin crust that gives way to juicy, tender chicken, often coated in a sticky, sweet, and spicy glaze. This recipe aims to recreate that magic in your own kitchen. While there are many variations, this version focuses on achieving that signature crispiness and provides a versatile foundation for your favorite Korean sauces.
Ingredients:
Cooking Instructions:
Step 1: Marinate the Chicken
The first step to incredibly flavorful and tender Korean Fried Chicken is a good marinade. In a medium bowl, combine the buttermilk, 1/2 tsp salt, 1/4 tsp white pepper, and 1/4 tsp garlic salt. Whisk everything together until well combined. Add your sliced chicken breasts to the buttermilk mixture, ensuring each piece is fully submerged. Cover the bowl tightly with plastic wrap or a lid and refrigerate for at least 30 minutes, or ideally, for 2 to 4 hours. This buttermilk marinade does wonders; the acidity in the buttermilk helps to tenderize the chicken, making it exceptionally moist and juicy. It also acts as a great binder for the flour coating later on. Don’t rush this step; a longer marination period will yield a more delicious result.
Step 2: Prepare the Flour Dredge
While the chicken is marinating, let’s get our dry coating ready. In a large bowl or a shallow dish, combine the 180g (1 1/2 cups) of plain flour with 1 tsp salt, 1 tsp ground black pepper, 1/2 tsp garlic salt, 1/2 tsp celery salt, 1 tsp dried thyme, 1 tsp paprika, 1 tsp baking powder, and 1 tsp chilli flakes. Whisk these dry ingredients together thoroughly. The baking powder is key here; it creates tiny air bubbles in the coating, contributing to that signature light and crispy texture that Korean Fried Chicken is famous for. The chilli flakes add a subtle warmth to the crust itself, which complements the sauce beautifully. Ensure all the spices are evenly distributed throughout the flour for consistent flavor in every bite.
Step 3: Coat the Chicken
Once the chicken has marinated sufficiently, it’s time to coat it. Remove the chicken pieces from the buttermilk, letting any excess drip back into the bowl. Don’t wipe them dry! The slightly wet surface of the chicken will help the flour adhere better. Working in batches to avoid overcrowding the bowl, dredge each chicken strip in the prepared flour mixture. Make sure each piece is generously coated, pressing the flour onto the chicken to ensure it sticks well. For an extra crispy coating, you can double-dip. After the first dip, briefly dip the floured chicken back into the buttermilk mixture, then dredge it again in the flour. This creates a thicker, craggier crust that fries up exceptionally crispy. Place the coated chicken pieces on a wire rack set over a baking sheet. Let them rest for about 10-15 minutes at room temperature. This resting period allows the coating to further adhere to the chicken and prevents it from falling off during frying, contributing to that sought-after shatteringly crisp exterior.
Step 4: The Double Fry Method for Ultimate Crispiness
This is where the magic truly happens. We’ll be using a double-frying technique, which is essential for achieving that perfect, ultra-crispy Korean Fried Chicken crust. Heat your chosen neutral oil in a deep pot or Dutch oven to 170°C (340°F). You’ll need enough oil to comfortably submerge the chicken pieces. Using a thermometer is highly recommended for accurate temperature control. Carefully add the chicken pieces to the hot oil in batches. Do not overcrowd the pot, as this will lower the oil temperature and result in greasy chicken. Fry the chicken for about 5-6 minutes until it’s lightly golden and cooked through. The internal temperature should reach 74°C (165°F). Remove the chicken from the oil and place it on a wire rack to drain any excess oil. Let it rest for about 5 minutes. Now, increase the oil temperature to 190°C (375°F). Re-fry the chicken pieces in batches for an additional 2-3 minutes until they are a deep golden brown and exceptionally crispy. This second fry at a higher temperature is what gives Korean Fried Chicken its signature crunch that lasts. The crispy exterior is truly what sets it apart from other fried chicken styles.
Step 5: Sauce it Up (Optional but Highly Recommended!)
While the chicken is crisping up, you can prepare your favorite Korean fried chicken sauce. Common choices include a sweet and spicy gochujang-based glaze, a savory soy garlic sauce, or even a honey butter sauce. A classic gochujang sauce can be made by sautéing minced garlic and gin extractger, then adding gochujang (Korean chili paste), soy sauce, honey or corn syrup, and a splash of rice vinegar. Simmer until thickened. Once your chicken is fried to golden perfection and has had its second fry, immediately toss the hot, crispy chicken pieces in your prepared sauce until evenly coated. Serve immediately with white rice, pickled radishes, and your favorite Korean side dishes. The contrast between the incredibly crispy chicken and the sticky, flavorful sauce is what makes Korean Fried Chicken so irresistible. Enjoy your homemade Korean Fried Chicken!
Conclusion:
There you have it – your guide to creating truly spectacular Korean Fried Chicken right in your own kitchen! This recipe is a game-changer because it delivers that irresistible combination of incredibly crispy, shatteringly thin batter and juicy, flavorful chicken that makes Korean Fried Chicken so beloved. The double-frying technique is key, ensuring a perfect crunch every time. Don’t be intimidated by the steps; they are straightforward and the results are absolutely worth it.
Serve your masterpiece with an assortment of classic Korean banchan (side dishes) like pickled radish, kimchi, and seasoned cucumbers. A side of steamed rice and a refreshing non-alcoholic beer or non-alcoholic soju is also a fantastic pairing. Feeling adventurous? Consider experimenting with different glazes like a spicy gochujang-based sauce for extra heat, a sweet and savory soy garlic glaze, or even a honey butter version for a decadent twist. I truly encourage you to give this Korean Fried Chicken recipe a try. It’s a culinary adventure that promises delicious rewards!
Frequently Asked Questions:
Why is my Korean Fried Chicken not crispy?
The most common reason for soggy Korean Fried Chicken is not frying it twice. The initial fry cooks the chicken and sets the crust, while the second fry at a slightly higher temperature makes it exceptionally crispy. Also, ensure your oil is hot enough (around 350-375°F or 175-190°C) before adding the chicken, and don’t overcrowd the pan, as this lowers the oil temperature.
Can I make the sauce ahead of time?
Absolutely! Most Korean Fried Chicken sauces, especially the soy garlic and gochujang-based ones, can be made a day or two in advance and stored in the refrigerator. Simply reheat them gently on the stovetop or in the microwave before tossing with your freshly fried chicken.
What kind of oil is best for frying?
A neutral-flavored oil with a high smoke point is ideal. Good choices include vegetable oil, canola oil, or peanut oil. These oils will allow the chicken to fry without imparting any undesirable flavors and can withstand the high temperatures needed for that perfect crisp.
Korean Fried Chicken Recipe
Crispy and spicy Korean fried chicken made with tender chicken breasts.
Ingredients
-
4 chicken breasts ((approx 700g or 1.5lb) sliced into long thick strips)
-
240 ml (1 cup) buttermilk
-
1/2 tsp salt
-
1/4 tsp white pepper
-
1/4 tsp garlic salt
-
180 g (1 1/2 cups) plain (all-purpose) flour
-
1 tsp salt
-
1 tsp ground black pepper
-
1/2 tsp garlic salt
-
1/2 tsp celery salt
-
1 tsp dried thyme
-
1 tsp paprika
-
1 tsp baking powder
-
1 tsp chilli flakes
-
oil for deep frying ((at least 1 litre/four cups) I use avocado oil, but other neutral oils such as sunflower or canola work too.)
Instructions
-
Step 1
In a bowl, combine the sliced chicken breasts with buttermilk, 1/2 tsp salt, 1/4 tsp white pepper, and 1/4 tsp garlic salt. Marinate for at least 30 minutes in the refrigerator. -
Step 2
In a separate shallow dish, whisk together the flour, 1 tsp salt, 1 tsp ground black pepper, 1/2 tsp garlic salt, 1/2 tsp celery salt, dried thyme, paprika, baking powder, and chilli flakes. -
Step 3
Remove the chicken from the buttermilk, letting excess drip off. Dredge each piece of chicken thoroughly in the flour mixture, ensuring it is well coated. -
Step 4
Heat at least 1 litre of neutral oil in a deep pot or Dutch oven over medium-high heat until it reaches 175°C (350°F). -
Step 5
Carefully fry the chicken in batches for 5-7 minutes per side, or until golden brown and cooked through. Avoid overcrowding the pot. -
Step 6
Remove the fried chicken from the oil and place on a wire rack set over a baking sheet to drain any excess oil. Serve hot.
Important Information
Nutrition Facts (Per Serving)
It is important to consider this information as approximate and not to use it as definitive health advice.
Allergy Information
Please check ingredients for potential allergens and consult a health professional if in doubt.