St. Patrick’s Day Desserts-Lucky Treats
St. Patrick’s Day Desserts are more than just a sweet treat; they’re a vibrant celebration of Irish culture and a delightful way to infuse your festivities with a touch of emerald cheer. As the days lengthen and the scent of spring begin extracts to awaken, there’s something undeniably joyous about gathering with loved ones and sharing desserts that sparkle with green and gold. We all have a soft spot for those festive confections, don’t we? They evoke a sense of fun, tradition, and pure indulgence. What makes these St. Patrick’s Day Desserts so special is their ability to transform simple ingredients into edible pieces of art, bursting with festive flavors and colors that are guaranteed to bring smiles all around. From creamy delights to decadent bakes, these recipes are designed to make your St. Patrick’s Day truly unforgettable.
Delightful St. Patrick’s Day Desserts: A Touch of Irish Magic for Your Table
St. Patrick’s Day is a time for celebration, green everything, and of course, delicious food! While the savory dishes often take center stage, let’s not forget about the sweet finnon-alcoholic ale. This year, I’m sharing some of my favorite St. Patrick’s Day dessert ideas that are not only festive but also incredibly easy to make. Get ready to bring a touch of Irish magic to your table with these delightful treats. From classic flavors with a green twist to truly innovative creations, there’s something here to satisfy every sweet tooth and make your St. Paddy’s Day celebration truly memorable. We’ll be focusing on a few simple yet impactful recipes that are perfect for sharing with family and friends.
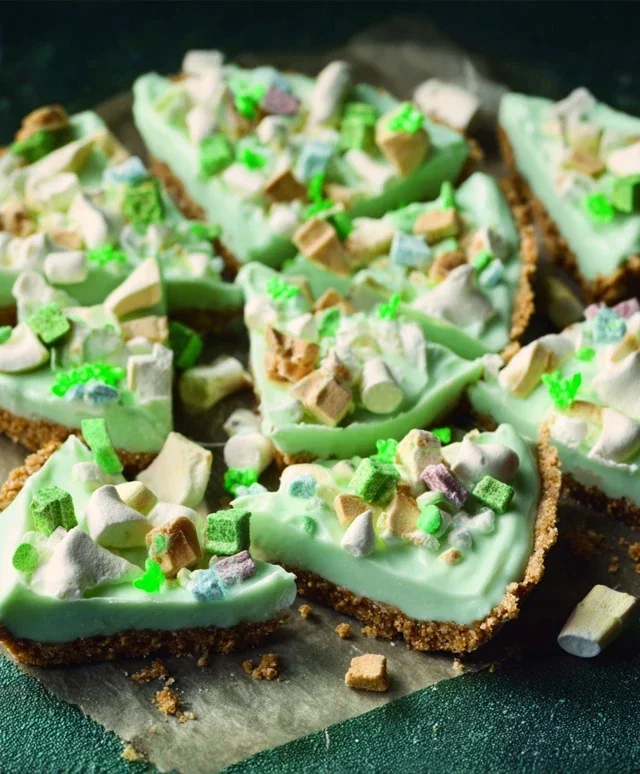
Lucky Charms & Cream Cheese Swirl Brownies
These brownies are a fun and whimsical take on a classic dessert. The addition of Lucky Charms cereal not only adds a pop of color but also a delightful crunch and sugary sweetness that perfectly complements the rich, fudgy brownie base. They’re a guaranteed hit with kids and adults alike!
Ingredients:
Instructions:
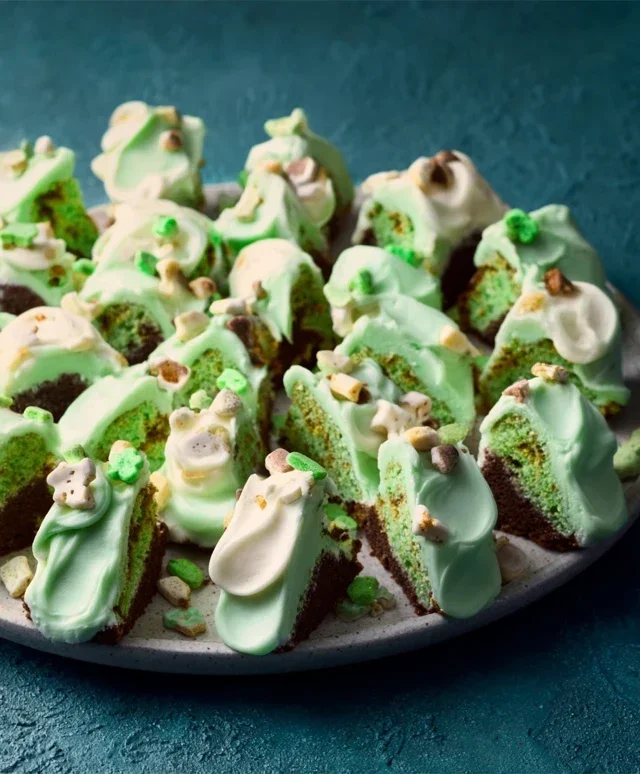
Pistachio Pudding Parfaits with Whipped Cream
For a lighter, yet equally festive option, these parfaits are a dream. The vibrant green of pistachio pudding is inherently St. Patrick’s Day-esque, and layering it with fluffy whipped cream and a sprinkle of crushed pistachios creates a visually stunning and deliciously creamy dessert.
Ingredients:
Instructions:
These desserts are designed to be enjoyed by everyone, bringin extractg a little bit of that cheerful St. Patrick’s Day spirit to your home. Happy baking, and may your St. Patrick’s Day be filled with delicious treats and good fortune!
Conclusion:
I hope you’ve enjoyed exploring these delightful St. Patrick’s Day dessert recipes! These treats are fantastic because they offer a perfect blend of festive flair and delicious flavor, making them ideal for any St. Paddy’s Day celebration. Whether you’re a seasoned baker or just starting, these recipes are designed to be accessible and rewarding, bringin extractg a touch of Irish cheer to your table. They are wonderful for potlucks, family gatherings, or simply as a sweet indulgence after a hearty meal. Don’t hesitate to get creative with decorations – think sbeef hamrocks, gold coins, or even a sprinkle of green edible glitter to truly capture the spirit of the holiday.
For serving, consider pairing your desserts with a creamy Irish coffee, a refreshing mint milkshake, or a glass of cold milk. These St. Patrick’s Day desserts also make wonderful gifts, beautifully wrapped and shared with friends and loved ones. Remember, the most important ingredient is enthusiasm! I wholeheartedly encourage you to try these recipes and discover the joy of baking something special for this festive occasion. You might just find a new favorite that becomes a tradition year after year.
Frequently Asked Questions:
Can I make these desserts ahead of time?
Many of these St. Patrick’s Day desserts can be prepared partially or fully in advance. For example, cookies can often be baked a day or two before and stored in an airtight container. Cakes and cupcakes can usually be baked the day before and frosted closer to serving time. Always check the individual recipe notes for specific make-ahead instructions to ensure the best texture and flavor.
What are some easy St. Patrick’s Day dessert variations for kids?
For a simpler approach, consider turning cupcakes into fun characters by using green frosting and edible googly eyes. Another idea is to make no-bake options like green-tinted pudding parfaits layered with crushed cookies, or even decorate store-bought sugar cookies with green icing and sprinkles. The key is to keep it fun and visually appealing!
Are these recipes suitable for begin extractners?
Absolutely! I’ve aimed to select recipes that are generally forgiving and don’t require advanced techniques. With clear instructions and a little patience, even novice bakers should be able to create these delicious and festive treats successfully.
St. Patrick’s Day Dessert Assortment
A festive collection of sweet treats perfect for celebrating St. Patrick’s Day, featuring a vibrant green theme and a touch of Irish inspiration. These desserts are designed for easy preparation and delightful enjoyment.
Ingredients
-
1 cup all-purpose flour
-
1/2 cup granulated sugar
-
1/4 teaspoon baking soda
-
1/4 teaspoon salt
-
1/2 cup unsalted butter, softened
-
1 large egg
-
1 teaspoon vanilla extract
-
Green food coloring
-
1/2 cup powdered sugar
-
1 tablespoon milk
Instructions
-
Step 1
Preheat oven to 350°F (175°C). Line baking sheets with parchment paper. -
Step 2
In a medium bowl, whisk together flour, sugar, baking soda, and salt. -
Step 3
In a separate bowl, cream together softened butter and egg. Stir in vanilla extract. -
Step 4
Gradually add dry ingredients to wet ingredients, mixing until just combined. Add a few drops of green food coloring and mix until evenly distributed for a vibrant green hue. -
Step 5
Drop rounded tablespoons of dough onto prepared baking sheets, about 2 inches apart. -
Step 6
Bake for 8-10 minutes, or until edges are lightly golden. Let cool on baking sheets for a few minutes before transferring to a wire rack to cool completely. -
Step 7
While cookies cool, prepare a simple glaze by whisking together powdered sugar and milk until smooth. Add more milk or powdered sugar as needed for desired consistency. -
Step 8
Once cookies are completely cooled, drizzle with green glaze.
Important Information
Nutrition Facts (Per Serving)
It is important to consider this information as approximate and not to use it as definitive health advice.
Allergy Information
Please check ingredients for potential allergens and consult a health professional if in doubt.