Easy French Macaron Recipe – Perfect Sweet Treats
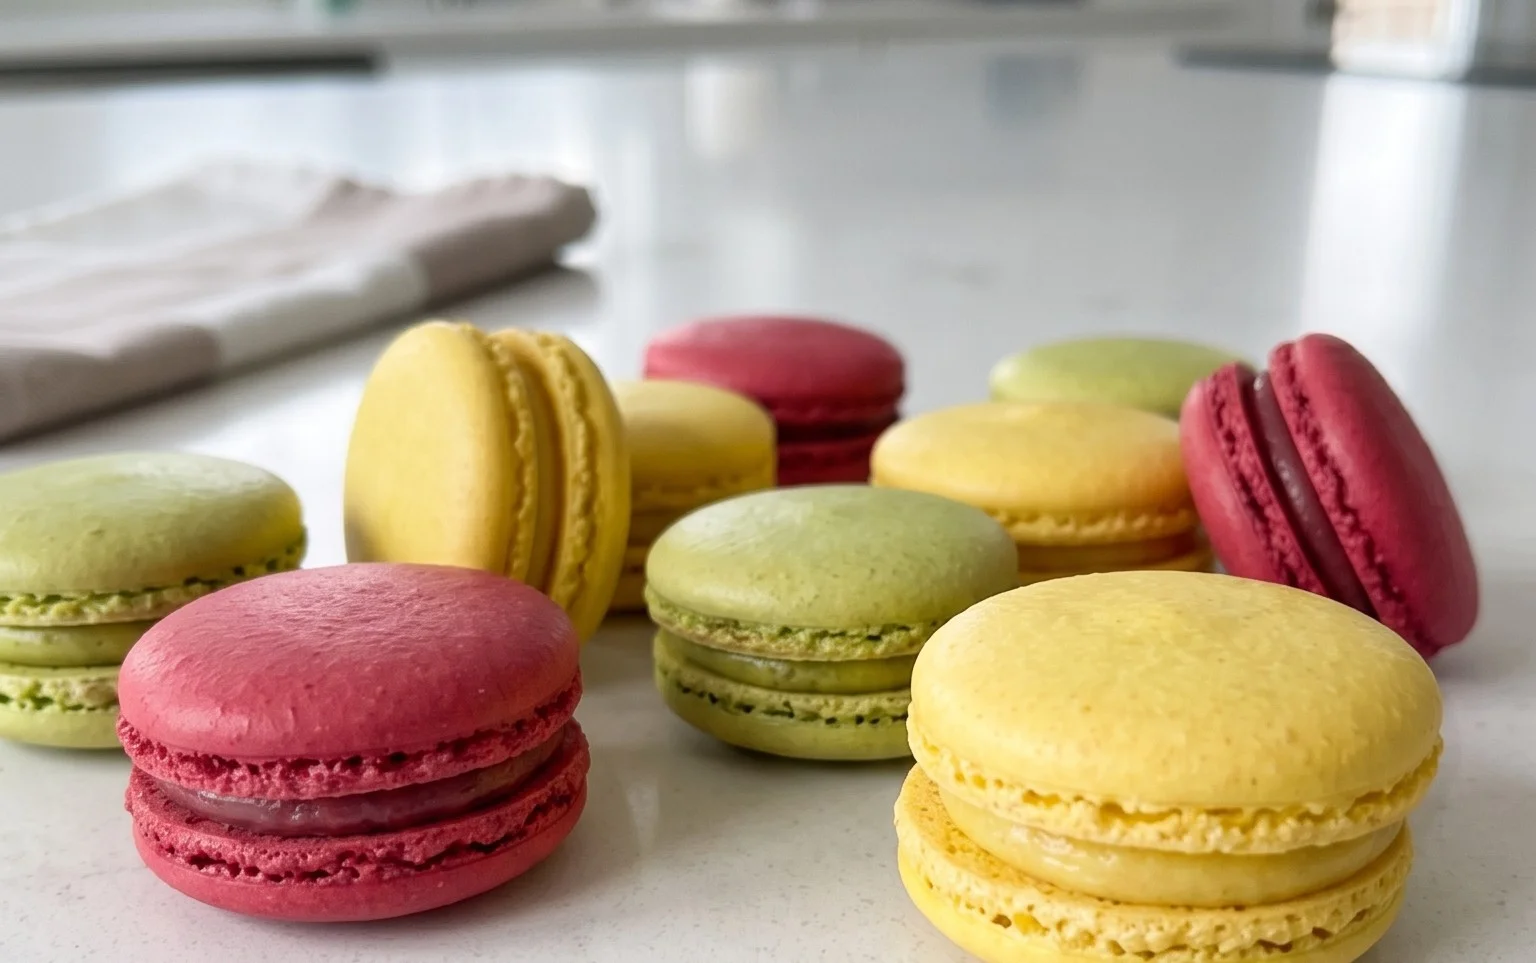
French Macarons are more than just a cookie; they’re a miniature masterpiece of culinary artistry, a delicate dance of textures and flavors that captivates the senses. If you’ve ever found yourself mesmerized by their vibrant colors and impossibly smooth shells, you’re not alone. These iconic treats have taken the dessert world by storm, and for good reason. What is it about a French Macaron that makes them so utterly irresistible? It’s that perfect harmony: the crisp, slightly brittle outer shell giving way to a chewy, almost fudgy interior, all sandwiched together with a lusciously rich ganache or buttercream. Each bite is a whisper of elegance, a burst of concentrated flavor that feels both sophisticated and delightfully indulgent. Mastering the French Macaron can seem daunting, but with a little patience and this guide, you’ll be creating these delightful confections in your own kitchen.
French Macaron Recipe
Ah, the French macaron. Those delicate, colorful, and utterly divine little sandwiched cookies that seem to grace every patisserie window. For years, I admired them from afar, convinced they were an impossible feat for a home baker. But after much practice and a few less-than-perfect batches, I can confidently say that making beautiful, delicious macarons is absolutely within your reach! It requires patience, precision, and a little bit of understanding of the science behind these airy delights. But trust me, the reward of biting into a perfectly chewy, crisp-shelled macaron with a delightful filling is well worth the effort.
This recipe focuses on the classic French method, which involves agin extractg egg whites and a meringue-based batter. Don’t be intimidated; I’ll walk you through each step with plenty of detail to help you achieve macaron perfection.
Ingredients:
Cooking Instructions:
Preparing Your Dry Ingredients
The first crucial step to macaron success lies in the preparation of your dry ingredients. Begin extract by sifting your almond flour and powdered sugar together. This might seem tedious, but it’s absolutely essential for smooth, lump-free macaron shells. If you don’t have a superfine almond flour, you can pulse regular almond flour briefly in a food processor before sifting. Sift them together at least twice, or even three times, into a clean bowl. This aerates the mixture and ensures no large almond pieces or powdered sugar lumps remain. After sifting, weigh out exactly 150 grams. The salt is also added to this dry mixture and stirred in. Set this bowl aside.
Making the Meringue
Next, we’ll work on the meringue, which is the foundation of your macaron shells. In a very clean, grease-free bowl of a stand mixer (or a large bowl if using a hand mixer), add your room-temperature egg whites. Ensure there is absolutely no trace of yolk in the whites, as fat will prevent them from whipping properly. Start whisking the egg whites on medium speed until they become foamy and opaque. Gradually add the granulated sugar, one tablespoon at a time, while the mixer is still running. Continue to whisk on medium-high speed until the meringue is stiff and glossy. You should be able to turn the bowl upside down without the meringue sliding out. This is a stiff peak meringue. Now, it’s time for the color and flavor. Add your liquid-gel food coloring and vanilla extract to the meringue. Be judicious with the food coloring; it’s easier to add more than to take away! Whisk for another 30 seconds to ensure the color is evenly distributed and the meringue remains glossy and firm.
The Macaronage: Folding the Batter
This is arguably the most critical stage, known as the “macaronage.” It’s where you combine your dry ingredients with the meringue. Gently fold about one-third of the dry ingredient mixture into the meringue using a rubber spatula. Use a motion that scrapes down the sides of the bowl and then cuts through the center. Don’t overmix at this stage; you’re just starting to incorporate the dry ingredients. Once that first portion is mostly incorporated, add the remaining dry ingredients. Now, you will continue folding. The goal here is to deflate the meringue just enough to create a lava-like batter that flows smoothly off the spatula in a thick, ribbon-like stream. You want it to flow slowly and continuously, like molten lava. To test if you’ve reached the right consistency, draw a figure-eight with the batter flowing from the spatula; if the batter slowly flows back together within about 15-20 seconds, it’s ready. If it breaks too quickly, you’ve overmixed. If it’s too stiff and doesn’t flow, you need to fold a little more, very gently.
Piping the Macaron Shells
Once your batter is the perfect consistency, it’s time to pipe! Prepare a baking sheet by lining it with parchment paper or a silicone baking mat. You can also draw circles on your parchment paper as a guide, if you like. Transfer the macaron batter into a piping bag fitted with a round tip (about 1/2 inch). Hold the piping bag perpendicular to the baking sheet and pipe small, uniform rounds of batter. Try to keep them about the same size for even baking. Leave about an inch of space between each piped circle, as they will spread slightly. After piping all your shells, firmly tap the baking sheet on your countertop several times. This helps to release any trapped air bubbles that could cause cracked shells and also encourages the piped mounds to settle into smooth discs.
Resting and Baking
Now comes the waiting game, which is vital for developing the “feet” of your macarons. Let the piped macaron shells sit at room temperature for at least 30-60 minutes, or until they have formed a slight skin. You’ll know they’re ready when you can gently touch the surface of a shell without any batter sticking to your finger. This skin is essential for the macarons to rise upwards and form their characteristic ruffled feet. While the macarons are resting, preheat your oven to 300°F (150°C). Once the shells are rested and the oven is preheated, bake the macarons for 12-15 minutes. The exact baking time will vary depending on your oven. The macarons are done when the tops are firm and the feet have developed. They should also not wobble when you gently touch the top of a shell. Remove the baking sheets from the oven and let the macarons cool completely on the baking sheet before attempting to peel them off. This cooling process is crucial; trying to move them while warm will result in broken shells.
Filling and Maturing
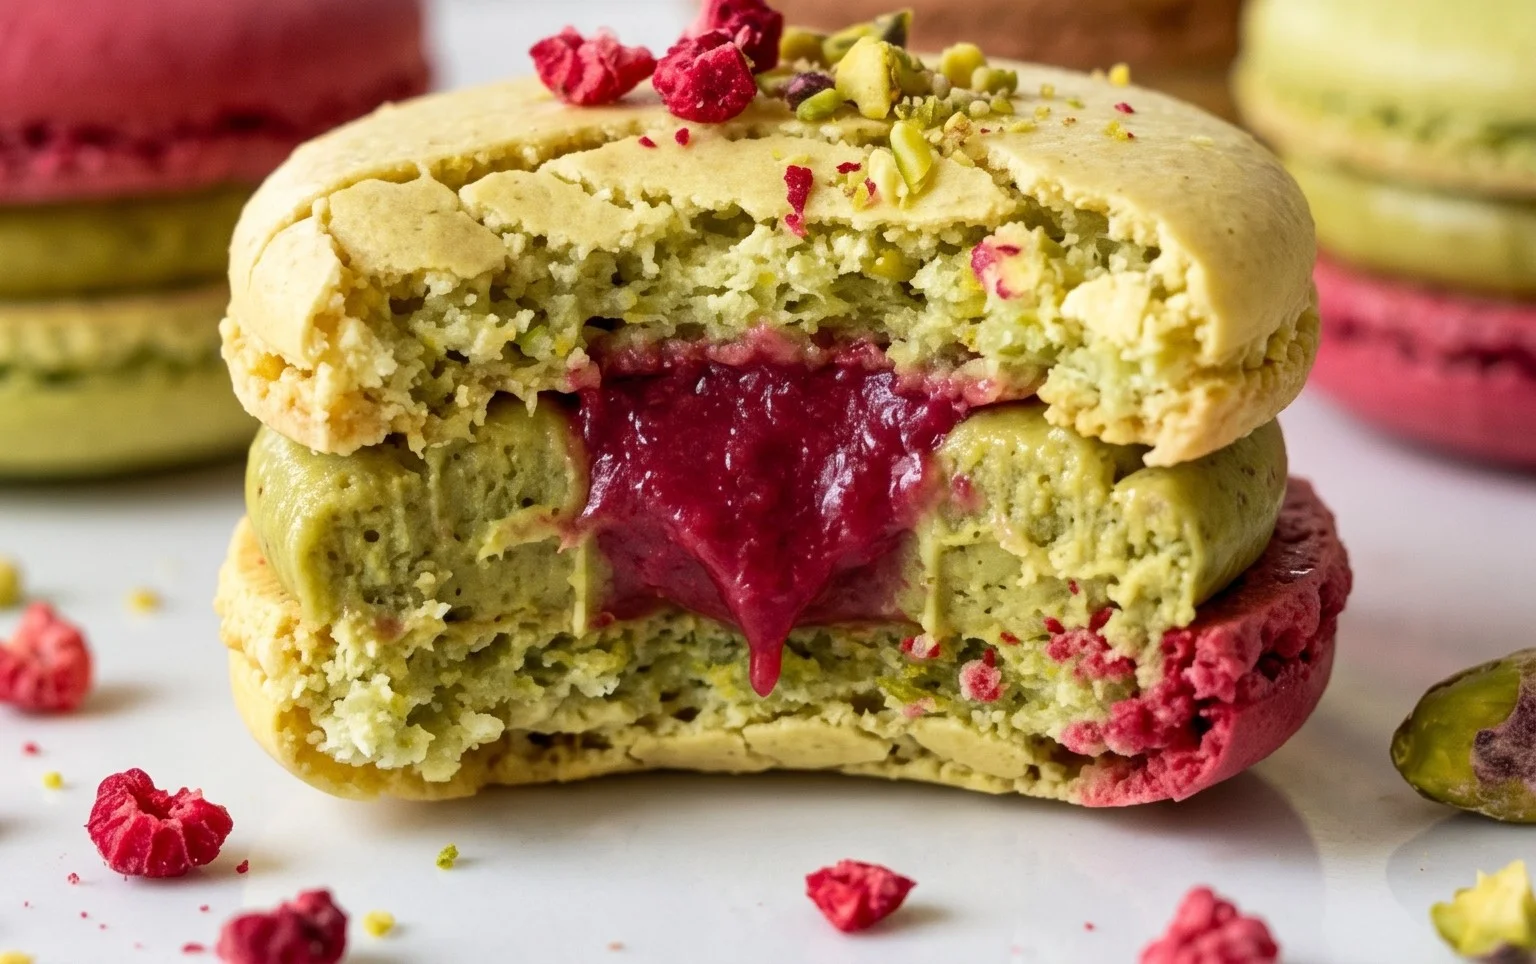
Once your macaron shells are completely cool, it’s time to assemble them! Pair up similarly sized shells. Pipe a dollop of your chosen filling, such as vanilla buttercream, onto the flat side of one shell, and then gently sandwich it with another shell, twisting slightly to spread the filling evenly to the edges. Don’t overfill, as the filling will spread as you press them together. The final, and arguably most delicious, step is to let your macarons mature in an airtight container in the refrigerator for at least 24 hours. This “maturing” process allows the shells to absorb moisture from the filling, creating that perfect chewy texture that macaron lovers rave about. After maturing, you can bring them to room temperature for about 15-20 minutes before serving for the best flavor and texture. Enjoy your homemade French macarons!
Conclusion:
Embarking on the journey to create perfect French macarons might seem daunting, but I promise you, the reward is absolutely worth the effort! This French macaron recipe is designed to be as approachable as possible, guiding you through each step to achieve those delicate, airy shells with that signature “foot.” The satisfaction of biting into a beautifully crafted macaron, with its crisp exterior yielding to a chewy interior and a luscious filling, is unparalleled. They are not just a dessert; they are a little piece of edible art.
These delightful treats are incredibly versatile. Enjoy them as a sophisticated addition to afternoon tea, a sweet finnon-alcoholic ale to a special dinner, or simply as a delightful pick-me-up. For serving, imagin extracte a colorful platter showcasing a variety of flavors, or individually packaged for charming party favors. Don’t be afraid to experiment with fillings! Classic ganaches, fruit curds, buttercream, or even jams can elevate your macarons to new heights. You can also play with food coloring to create stunning visual effects or tint your shells to match any occasion.
I wholeheartedly encourage you to try this French macaron recipe. With a little patience and attention to detail, you’ll be producing bakery-worthy macarons in no time. So gather your ingredients, preheat your oven, and get ready to impress yourself and everyone you share these with!
Frequently Asked Questions:
Why are my macaron shells cracking?
Cracking often occurs due to over-whipped egg whites, too much almond flour, or oven temperature issues. Ensure your egg whites are whipped to stiff peaks but not dry, and that your almond flour is finely sifted. Resting the piped shells before baking also helps the “skin” to form, preventing cracks.
My macarons have no “foot.” What did I do wrong?
The “foot” is the ruffled edge at the base of the macaron shell. It’s typically a result of the batter’s consistency and oven temperature. If the batter is too runny, the foot might be weak or nonexistent. An oven that’s too hot can also bake the shells too quickly before the foot has a chance to develop. A slightly lower oven temperature and properly “macaronaged” batter are key.
Can I make French macarons ahead of time?
Absolutely! In fact, it’s recommended. Macarons taste best after they’ve “matured” in the refrigerator for at least 24 hours. This allows the flavors of the filling to meld with the shells and creates the perfect chewy texture. Store them in an airtight container.
French Macaron Recipe
A classic French macaron recipe for delicate, airy meringue cookies with a sweet filling.
Ingredients
-
150 grams sifted super-fine almond flour
-
180 grams powdered sugar
-
1/4 teaspoon salt
-
120 grams large egg whites (at room temperature)
-
60 grams granulated sugar
-
4 drops liquid-gel food coloring
-
1 teaspoon pure vanilla extract
-
Vanilla Buttercream Frosting (or your choice of filling)
Instructions
-
Step 1
Whisk together sifted almond flour, powdered sugar, and salt in a bowl. Set aside. -
Step 2
In a clean, dry bowl, beat egg whites until foamy. Gradually add granulated sugar while continuing to beat until stiff, glossy peaks form. -
Step 3
Add food coloring and vanilla extract to the meringue, and gently fold until combined and evenly colored. -
Step 4
Fold the almond flour mixture into the meringue in two additions until it forms a thick, flowing batter. It should resemble lava or ribbon-like consistency when lifted. -
Step 5
Pipe small, uniform rounds of batter onto baking sheets lined with parchment paper or silicone mats. -
Step 6
Tap the baking sheets firmly on the counter to release air bubbles. Let the macarons sit at room temperature for 30-60 minutes until a skin forms. -
Step 7
Bake in a preheated oven at 300°F (150°C) for 12-15 minutes, or until the macarons have developed ‘feet’ and are firm to the touch. -
Step 8
Let the macarons cool completely on the baking sheets before carefully removing them. Once cooled, pair matching shells and fill with your chosen frosting.
Important Information
Nutrition Facts (Per Serving)
It is important to consider this information as approximate and not to use it as definitive health advice.
Allergy Information
Please check ingredients for potential allergens and consult a health professional if in doubt.