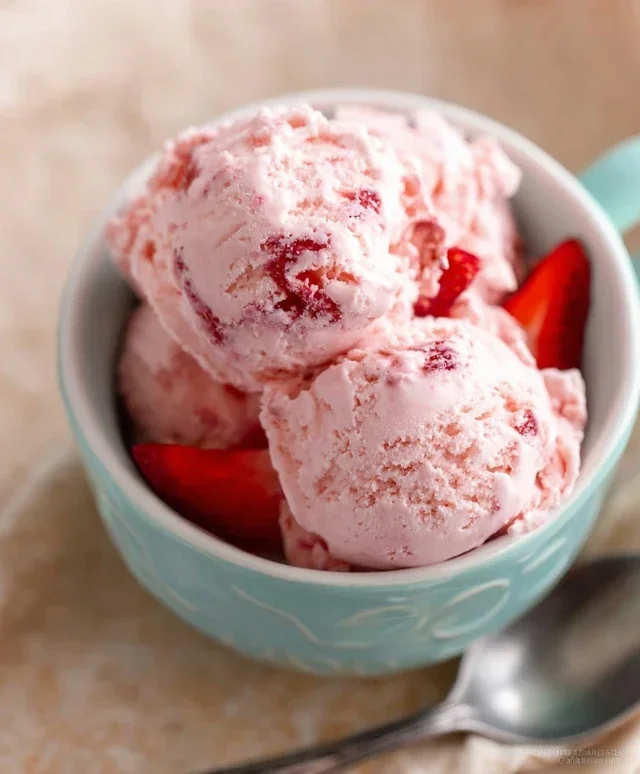
Easy Homemade Strawberry Ice Cream Recipe
Homemade strawberry ice cream is a summertime dream, a vibrant ruby-red swirl of pure bliss that instantly transports you to sun-drenched days. There’s something undeniably magical about the sweet, slightly tart burst of fresh strawberries, transformed into a creamy, dreamy frozen dessert. We all have those childhood memories of sticky fingers and overflowing cones, and this homemade strawberry ice cream aims to recapture that pure, unadulterated joy. Forget those artificial flavors and chalky textures; the beauty of making your own lies in the intensity of the fruit and the rich, velvety smoothness that only comes from real cream and perfectly ripe strawberries. It’s a celebration of simple, natural ingredients, elevated into something truly special. Get ready to discover how easy it is to create this iconic treat in your own kitchen, a guaranteed crowd-pleaser that will have everyone asking for seconds!
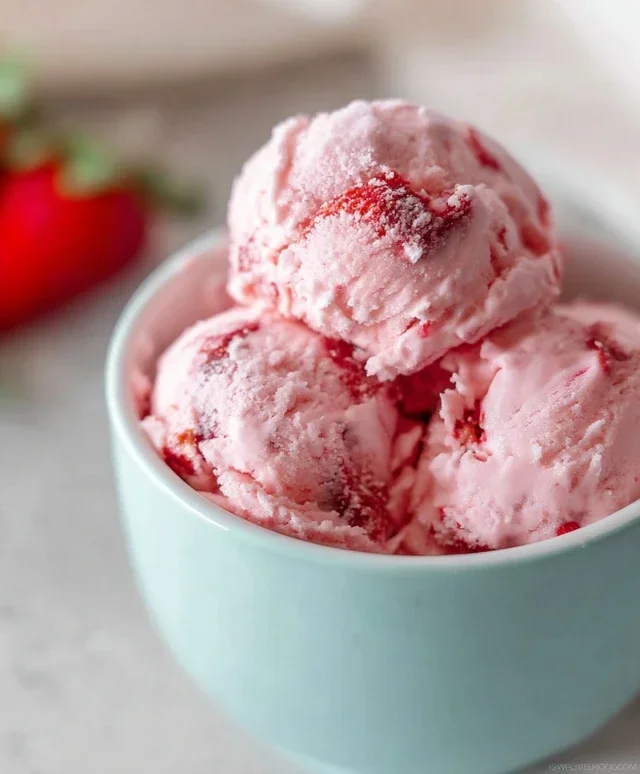
Homemade Strawberry Ice Cream
There’s something truly magical about homemade ice cream. The creamy texture, the vibrant flavor, the pure joy of knowing exactly what went into it – it’s a culinary delight that’s surprisingly achievable in your own kitchen. And when that flavor is the sweet, tangy perfection of fresh strawberries, well, you’ve got a summertime (or anytime!) winner. Forget those store-bought tubs that often rely on artificial flavors and preservatives. This recipe will guide you through creating a luscious, authentic strawberry ice cream that will have everyone asking for seconds. It’s a simple process, but the results are extraordinary. Get ready to elevate your dessert game with this delightful homemade treat.
Ingredients:
Crafting Your Strawberry Ice Cream Base
The journey to your perfect scoop of strawberry ice cream begin extracts with preparing the star ingredient: the strawberries. We want to coax out their natural sweetness and create a wonderfully smooth flavor infusion.
1. Preparing the Strawberry Puree:
Start by washing your strawberries thoroughly. Once cleaned, remove the green tops (hull them) and dice them into roughly ½-inch pieces. Place the diced strawberries in a medium bowl. Now, it’s time to let the sweetness and tang of the strawberries shine. Add the 2 tablespoons of honey, ½ cup of granulated sugar, and 1 teaspoon of lemon juice to the bowl with the strawberries. The honey adds a subtle depth of flavor and helps with the smooth texture, while the sugar provides essential sweetness. The lemon juice is a secret weapon – it doesn’t make the ice cream taste lemony, but rather it brightens and intensifies the natural strawberry flavor, cutting through any potential cloying sweetness and adding a lovely balance. Stir everything together gently, ensuring the strawberries are well coated with the honey, sugar, and lemon juice. Let this mixture sit at room temperature for about 30 minutes. This maceration process allows the sugar to draw out the juices from the strawberries, creating a naturally thickened, flavorful syrup. You’ll notice the strawberries start to soften and release their vibrant red liquid – that’s exactly what we want!
2. Blending for Smoothness:
After the strawberries have macerated, carefully transfer the entire contents of the bowl – strawberries and their luscious juices – into a blender or food processor. Blend until the mixture is smooth and has a consistent, velvety texture. You might need to scrape down the sides a few times to ensure all the fruit is incorporated. The goal here is to have a completely smooth puree, free of any large chunks of strawberry. This smooth base will ensure that your ice cream has a silky texture without any gritty bits. If you prefer a slightly more rustic texture with tiny pieces of strawberry throughout, you can pulse the blender instead of running it continuously, stopping when you reach your desired consistency. However, for classic smooth ice cream, a thorough blend is key.
3. Creating the Creamy Custard:
In a separate bowl, combine the 1 cup of heavy whipping cream and ½ cup of half and half. Whisk them together until they are just combined. Now, add the smooth strawberry puree to this creamy mixture. Stir everything together until it’s thoroughly incorporated. This is where the magic truly happens, as the fruit and dairy meld together. Finally, stir in the 1 teaspoon of vanilla extract. Vanilla is a fantastic flavor enhancer for almost any dessert, and it plays beautifully with strawberries, adding warmth and depth without overpowering the fruit. Give it another good stir to make sure the vanilla is evenly distributed throughout the base. At this stage, you can taste the mixture and adjust the sweetness if you feel it’s necessary, though I find this balance to be just right for most palates.
4. Chilling the Base for Optimal Freezing:
This step is crucial for achieving the best texture in your finished ice cream. Cover the bowl containing your strawberry ice cream base tightly with plastic wrap, pressing the wrap directly onto the surface of the mixture to prevent a skin from forming. Refrigerate the base for at least 4 hours, or ideally, overnight. This chilling period serves multiple purposes. It allows the flavors to meld and deepen, giving the ice cream a more complex and satisfying taste. More importantly, it ensures the base is thoroughly cold before it goes into your ice cream maker. A cold base freezes more efficiently and results in smaller ice crystals, leading to a creamier, smoother ice cream. If your base isn’t cold enough, your ice cream maker will struggle to freeze it properly, potentially resulting in a softer, icier texture.
5. Churning and Freezing to Perfection:
Once your base is thoroughly chilled, it’s time to churn it! Follow the manufacturer’s instructions for your specific ice cream maker. Typically, you’ll pour the cold base into the pre-frozen bowl of your ice cream maker and let it churn for about 20-30 minutes, or until it reaches a soft-serve consistency. During this churning process, the ice cream maker aerates the mixture while simultaneously freezing it, creating that characteristic creamy texture. As it churns, you’ll see it thicken beautifully. Once churned to your desired consistency, transfer the ice cream immediately to a freezer-safe container. Press a piece of parchment paper or plastic wrap directly onto the surface of the ice cream to prevent ice crystals from forming. Then, cover the container tightly. Place the container in the freezer for at least 2-4 hours to firm up completely into scoopable ice cream. The longer it freezes, the firmer it will become. Enjoy your incredible homemade strawberry ice cream!
Conclusion:
And there you have it – your very own batch of luscious, homemade strawberry ice cream! This recipe is truly a celebration of summer, bursting with the vibrant, natural sweetness of fresh strawberries. Its creamy texture and delightful fruity flavor make it a guaranteed crowd-pleaser, far superior to anything store-bought. Making it from scratch is incredibly rewarding and surprisingly simple, allowing you to control the quality of your ingredients and customize it to your heart’s content. I truly encourage you to give this fantastic homemade strawberry ice cream recipe a try; you won’t regret the delicious results!
Serving this delightful creation is as versatile as you wish. It’s perfect on its own, of course, but also shines when paired with warm brownies, a slice of angel food cake, or even a drizzle of balsamic glaze for a sophisticated twist. For variations, consider adding a swirl of chocolate sauce, a handful of fresh mint leaves, or even a splash of limoncello for an adult-friendly kick. Experimenting is part of the fun!
Frequently Asked Questions:
Can I use frozen strawberries instead of fresh?
Absolutely! If fresh strawberries aren’t in season, frozen ones work wonderfully. Thaw them completely and drain off any excess liquid before pureeing them for the ice cream base. This ensures your ice cream has the best texture.
How long will my homemade strawberry ice cream last in the freezer?
Properly stored in an airtight container, your homemade strawberry ice cream should last for about 1 to 2 weeks. Beyond that, the texture may start to degrade, though it will likely still be safe to eat. Enjoy it fresh for the best experience!
Homemade Strawberry Ice Cream
A refreshing and creamy homemade strawberry ice cream made with fresh strawberries and simple ingredients.
Ingredients
-
1 1/2 cups strawberries, hulled and diced
-
2 Tbsp honey
-
1/2 cup granulated sugar
-
1 tsp lemon juice
-
1 cup heavy whipping cream
-
1/2 cup half and half
-
1 tsp vanilla extract
Instructions
-
Step 1
In a bowl, combine the diced strawberries with honey, granulated sugar, and lemon juice. Let sit for 15-30 minutes, stirring occasionally, until the strawberries have softened and released their juices. -
Step 2
Puree the strawberry mixture using an immersion blender or food processor until smooth. -
Step 3
In a separate bowl, whisk together the heavy whipping cream, half and half, and vanilla extract until well combined. -
Step 4
Gently fold the strawberry puree into the cream mixture until just combined, creating swirls. -
Step 5
Pour the mixture into an ice cream maker and churn according to the manufacturer’s instructions until it reaches a soft-serve consistency. -
Step 6
Transfer the ice cream to a freezer-safe container and freeze for at least 4 hours, or until firm.
Important Information
Nutrition Facts (Per Serving)
It is important to consider this information as approximate and not to use it as definitive health advice.
Allergy Information
Please check ingredients for potential allergens and consult a health professional if in doubt.