Easter Bunny Coconut Tails-Sweet Treat Recipe
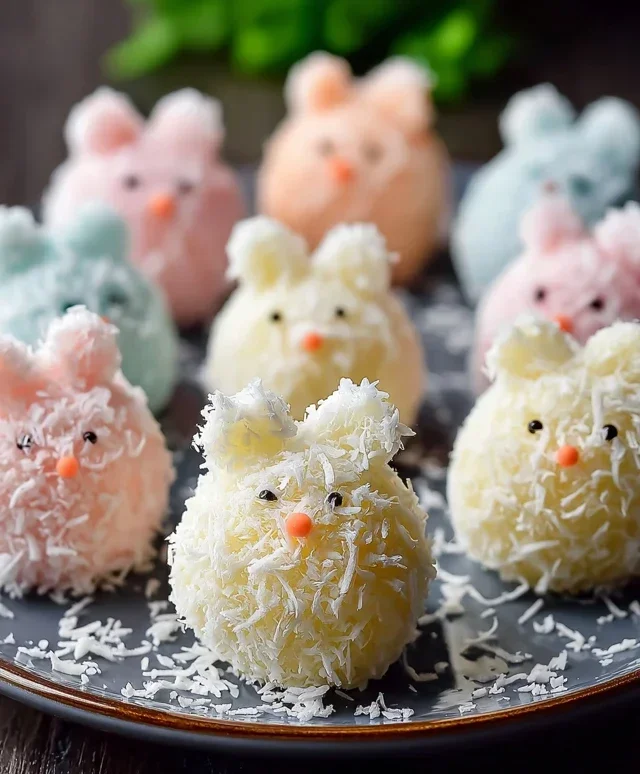
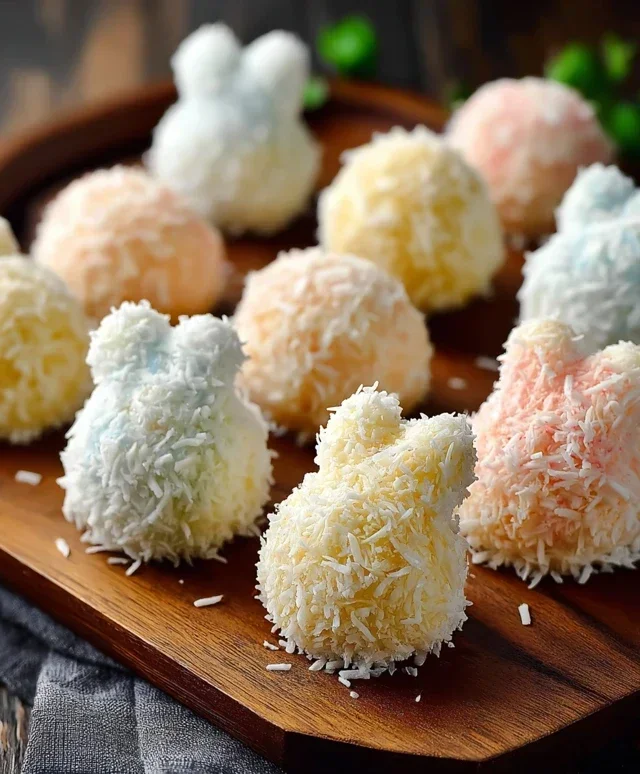
Easter Bunny Coconut Tails are undeniably one of the most delightful and whimsical treats to grace our Easter tables, and for good reason! There’s something magical about these sweet, fluffy creations that instantly transports us back to childhood Easters. They’re not just a dessert; they’re little edible sculptures that bring smiles to faces young and old. The charming design, mimicking the iconic bunny tail, makes them a perfect centerpiece for any Easter gathering or a fun activity to make with the kids. What truly sets these Easter Bunny Coconut Tails apart is the irresistible combination of textures and flavors – the tender, chewy coconut inside, perfectly coated in a sweet, creamy glaze and a dusting of shredded coconut that mimics soft fur. They’re light, airy, and utterly addictive, making them a guaranteed hit year after year. Get ready to hop into the Easter spirit with this easy and utterly charming recipe!
Easter Bunny Coconut Tails
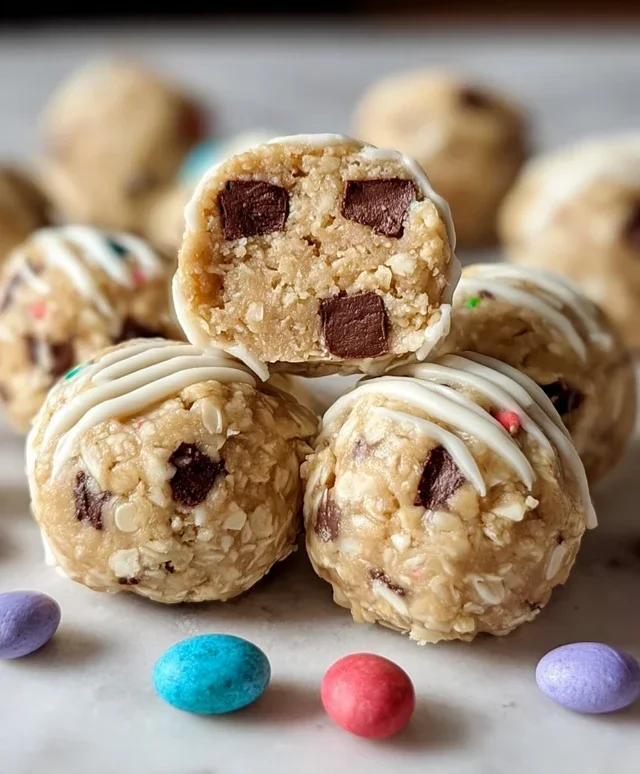
Get ready to hop into some festive fun with these adorable Easter Bunny Coconut Tails! These sweet, chewy, and delightfully coconutty treats are surprisingly easy to make and are guaranteed to bring smiles to everyone’s faces, young and old. They’re perfect for Easter baskets, parties, or just a special springtime indulgence. The gentle chegrape juicess of the coconut combined with the creamy sweetness of the white chocolate and the pop of color from the pink candy melts makes these a truly delightful confection. Let’s get started on creating these little bunny tails!
Ingredients:
Preparing the Coconut Mixture
The base of our Easter Bunny Coconut Tails is a simple yet effective mixture that creates that perfect chewy texture. We’ll start by combining our shredded coconut with melted marshmallows and butter. This step is crucial for binding the coconut together and giving it that satisfying bite.
Melting the Marshmallows and Butter
In a medium microwave-safe bowl, combine the mini marshmallows and the butter. Microwave on high in 30-second intervals, stirring well after each interval, until the marshmallows are completely melted and the butter is fully incorporated. Be patient with this process; you don’t want to scorch the marshmallows. Stirring diligently ensures a smooth, lump-free base. Once melted, carefully remove the bowl from the microwave.
Incorporating the Coconut and Vanilla
Immediately add the shredded coconut and the vanilla extract to the melted marshmallow and butter mixture. Stir everything together vigorously until all the coconut is evenly coated. The mixture will be sticky and slightly gooey at this stage. This is exactly what we want! The vanilla extract adds a subtle depth of flavor that complements the sweetness of the marshmallows and coconut beautifully. Allow this mixture to cool slightly for about 5-10 minutes. This slight cooling makes it more manageable to handle without being too sticky to shape.
Shaping the Coconut Tails
Once the coconut mixture has cooled enough to handle, it’s time to get our hands a little sticky and form the bunny tails! This is where the fun really begin extracts, and you can involve the kids in this part of the process.
Forming the Tails
Lightly grease your hands with a little cooking spray or a tiny bit of butter to prevent sticking. Scoop out about a tablespoon-sized portion of the coconut mixture. Roll it between your palms to form a small, round ball, similar to the size of a large gumball or a small donut hole. Aim for a consistent size for all your tails so they bake evenly (though these don’t actually bake, we’re aiming for uniformity in shape!). Place the formed coconut balls onto a baking sheet lined with parchment paper. Repeat this process until you have used up all the coconut mixture. You should get quite a few delightful little tails from this recipe.
Creating the White Chocolate Coating
Now, we’re going to give our coconut tails a lovely white chocolate shell, making them look even more like pristine bunny tails. This coating adds an extra layer of sweetness and a satisfying crunch.
Melting the White Chocolate
In a separate microwave-safe bowl, add the white chocolate chips. Microwave in 30-second intervals, stirring thoroughly after each interval, until the white chocolate is completely melted and smooth. White chocolate can be a bit finicky, so it’s important to stir frequently to prevent scorching. If you prefer, you can also melt the white chocolate using a double boiler method on the stovetop. Ensure the chocolate is perfectly smooth before proceeding.
Coating the Coconut Tails
Using a fork or a toothpick, carefully dip each coconut ball into the melted white chocolate, ensuring it is fully coated. Lift the coated ball out of the chocolate and gently tap the fork against the side of the bowl to allow any excess chocolate to drip off. This helps create a nice, even coating and prevents a lot of wasted chocolate. Place the white chocolate-dipped tails back onto the parchment-lined baking sheet. You can also use a spoon to drizzle some extra white chocolate over the tops for added visual appeal if you like. Let the white chocolate set completely. You can speed this up by placing the baking sheet in the refrigerator for about 15-20 minutes.
Decorating the Tails
The final touch to our Easter Bunny Coconut Tails is a delicate touch of pink, mimicking the natural color of a bunny’s tail. This step adds that whimsical Easter charm.
Melting the Pink Candy Melts
Following the package instructions, melt the pink candy melts in a small, microwave-safe bowl. Again, use short bursts of 30-second microwaving, stirring well in between, until smooth and fluid. Candy melts are designed to melt easily and harden quickly, making them ideal for decorating.
Adding the Pink Accent
Once the pink candy melts are melted and smooth, you can add the pink accent in a couple of ways. For a simple drizzle, spoon the melted pink candy melts into a piping bag or a small Ziploc bag with a tiny corner snipped off. Lightly drizzle over the white chocolate-coated tails, creating little pink swooshes. Alternatively, you can dip a toothpick into the melted pink candy melts and carefully dot a small amount onto one side of each tail to represent the pink part of a bunny’s tail. Don’t overdo it; a subtle touch is most effective. Allow the pink candy melts to set completely, which should happen quite quickly.
These Easter Bunny Coconut Tails are a delightful and charming treat that embodies the spirit of spring and Easter. Enjoy making and sharing them!
Conclusion:
And there you have it – your very own batch of adorable and delicious Easter Bunny Coconut Tails! This recipe is truly a winner because it’s incredibly simple to make, requiring no baking and minimal fuss, yet delivers a show-stopping treat that’s perfect for any Easter celebration. The sweet, chewy coconut paired with the creamy white chocolate coating creates a delightful contrast that’s sure to impress both kids and adults alike. These Easter Bunny Coconut Tails are a fantastic way to add a homemade touch to your holiday spread, and they’re so fun to assemble, making them a great activity for the whole family.
For serving, imagin extracte these little beauties nestled in a basket alongside chocolate eggs, or as a charming addition to your dessert table. They also make wonderful edible gifts for friends and neighbors. If you’re looking to switch things up, consider adding a touch of pink food coloring to the coconut for rosy cheeks, or even dipping the tails in milk chocolate for a different flavor profile. I truly encourage you to give these Easter Bunny Coconut Tails a try; they’re a guaranteed crowd-pleaser and bring a smile to everyone’s face.
Frequently Asked Questions:
Can I make these ahead of time?
Absolutely! These Easter Bunny Coconut Tails can be made a day or two in advance and stored in an airtight container in the refrigerator. This makes them perfect for busy holiday preparations, allowing you to cross a fun dessert off your list early.
What if I don’t have white chocolate chips?
No problem at all! You can substitute with white candy melts, which are specifically designed for melting and coating and often set up a bit firmer. Alternatively, you could use chopped white baking chocolate, though you might need to add a tiny bit of vegetable oil or shortening to help it melt smoothly if it’s not readily melting.
How should I store leftover coconut tails?
Store any leftover Easter Bunny Coconut Tails in an airtight container in the refrigerator for up to a week. The cool temperature helps to keep the chocolate coating firm. They are best enjoyed chilled.
Easter Bunny Coconut Tails
Adorable and easy-to-make Easter Bunny Coconut Tails, a sweet and festive treat perfect for spring celebrations.
Ingredients
-
2 cups shredded coconut
-
1½ cups mini marshmallows
-
¼ cup butter
-
1 teaspoon vanilla extract
-
1 cup white chocolate chips
-
Pink candy melts for decoration
Instructions
-
Step 1
In a microwave-safe bowl, combine mini marshmallows and butter. Microwave on high in 30-second intervals, stirring between each, until smooth and fully melted. -
Step 2
Stir in the vanilla extract and shredded coconut until well combined. The mixture will be sticky. -
Step 3
Shape the coconut mixture into small tail shapes. You can roll them into balls and then flatten slightly, or form them into oval shapes. -
Step 4
Melt the white chocolate chips according to package directions (e.g., in a double boiler or microwave). Dip one end of each coconut tail into the melted white chocolate, letting any excess drip off. -
Step 5
Place the dipped tails on parchment paper and allow the chocolate to set completely. -
Step 6
Melt the pink candy melts according to package directions. Drizzle or pipe small dots of pink candy melts onto the white chocolate end of each tail to resemble a bunny tail. -
Step 7
Let the pink candy melts harden before serving.
Important Information
Nutrition Facts (Per Serving)
It is important to consider this information as approximate and not to use it as definitive health advice.
Allergy Information
Please check ingredients for potential allergens and consult a health professional if in doubt.