Easy Homemade Mayo – Totally Worth It
Making mayo from scratch is easy and totally worth it, and I’m about to tell you why. Forget those jars that sit in the fridge, their flavor fading with every passing week. Imagin extracte a creamy, dreamy mayonnaise, so vibrant and fresh it elevates everything it touches – from the simplest sandwich to the most decadent potato salad. It’s that velvety texture, that subtle tang, that pure, unadulterated taste that has people hooked. This isn’t just about a condiment; it’s about unlocking a superior flavor experience. The satisfaction of creating something so delicious with just a few basic ingredients is incredibly rewarding. Trust me, once you’ve tasted homemade, you’ll never go back to store-bought again. Making mayo from scratch is truly a game-changer in your kitchen.
Making Mayo From Scratch Is Easy And Totally Worth It
Forget those jars of pnon-alcoholic ale, rubbery mayonnaise that sit in your fridge for months. Making your own mayonnaise from scratch is not only surprisingly simple, but the result is a vibrant, creamy, and incredibly flavorful condiment that will elevate everything from your sandwiches to your dips. Once you taste the difference, you’ll never go back. It’s a little bit of kitchen magic, and I’m here to show you just how easy it is to whip up a batch of this emulsified marvel. The beauty of homemade mayo lies in its freshness and the control you have over its flavor profile. Plus, it’s a fantastic way to impress your friends and family – they’ll think you’re a culinary genius!
Ingredients:
The Magic of Emulsification: Step-by-Step
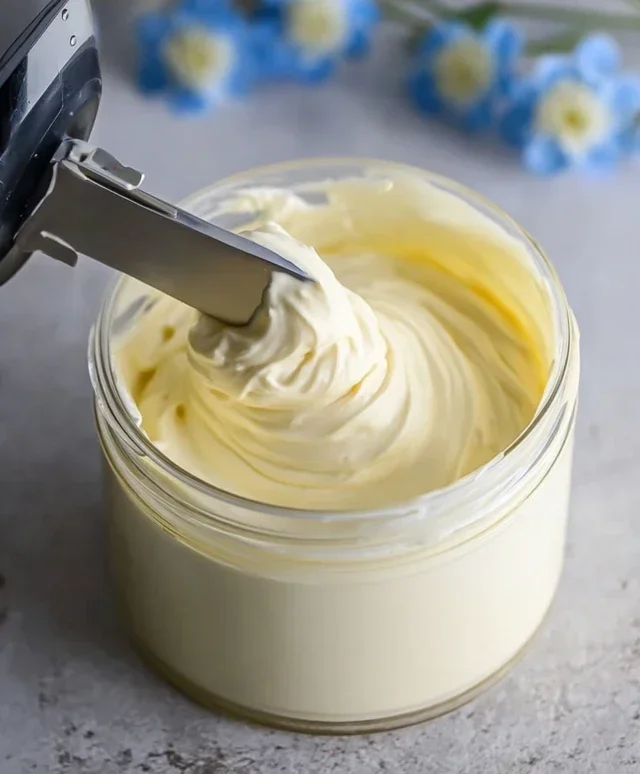
The core of mayonnaise making is creating a stable emulsion, which is when two liquids that normally don’t mix, like oil and water (or in this case, egg yolk which contains water), are forced to come together. This is achieved through vigorous whisking or blending, which breaks the oil into tiny droplets and disperses them throughout the egg yolk mixture. It sounds technical, but it’s incredibly satisfying to watch it happen right before your eyes.
Tips & Tricks for Mayo Mastery:
Making mayonnaise from scratch is a rewarding culinary experience. The resulting condiment is so much more flavorful and satisfying than anything you can buy. Give it a try – you might be surprised at how easy and how delicious it truly is!
Conclusion:
So there you have it! Making mayo from scratch is genuinely easy and, as you’ve seen, totally worth it. Forget those bland store-bought versions; this homemade mayonnaise is a revelation. It’s incredibly satisfying to create something so fundamental and delicious with just a few simple ingredients and a little bit of whisking. The texture is smooth and creamy, and the flavor is bright and fresh, a world away from what you’re used to. It truly elevates any dish it touches, transforming ordinary sandwiches, salads, and dips into something extraordinary. I encourage you to give this a try – you’ll be amazed at how simple it is and how much better your meals will taste.
Think of all the ways you can use your new, fabulous mayonnaise! It’s perfect on burgers, as a base for potato salad or coleslaw, or simply spread on toast. Don’t be afraid to experiment with variations, either. Add a pinch of garlic powder for aioli, a dash of sriracha for a spicy kick, or some chopped fresh herbs like dill or chives for a gourmet touch. Once you master this basic recipe, the possibilities are endless. You’ll soon find yourself making a batch every week!
Frequently Asked Questions:
Why is my mayonnaise not thickening?
This usually happens if the oil was added too quickly, or if the egg and lemon juice mixture wasn’t emulsified properly at the start. Ensure you’re adding the oil in a very slow, steady stream while continuously whisking. If it’s still too thin, try starting over with a fresh egg yolk and slowly whisking the runny mixture into it.
How long does homemade mayonnaise last?
Because it contains raw egg, homemade mayonnaise is best consumed within 3-5 days when stored in an airtight container in the refrigerator. Always make sure to use fresh ingredients and maintain good hygiene during preparation to maximize its shelf life.
Can I use a different type of oil?
Absolutely! While a neutral oil like canola, vegetable, or grapeseed oil is common, you can also experiment with olive oil. Be aware that a strong-flavored olive oil will impart a more pronounced taste to your mayo. A light or extra virgin extract olive oil can add a lovely, nuanced flavor, but start with a smaller amount and taste as you go.
Making Mayo From Scratch Is Easy And Totally Worth It
Whip up creamy, delicious homemade mayonnaise with simple ingredients. This recipe proves that making mayo from scratch is not only easy but also incredibly rewarding.
Ingredients
-
1 large egg yolk
-
1 teaspoon Dijon mustard
-
1 tablespoon lemon juice
-
1/2 teaspoon salt
-
1/4 teaspoon white pepper
-
3/4 cup vegetable oil
-
1 tablespoon water
Instructions
-
Step 1
In a medium bowl, whisk together the egg yolk, Dijon mustard, lemon juice, salt, and white pepper until well combined. -
Step 2
Slowly drizzle in the vegetable oil, about 1 teaspoon at a time, whisking constantly until the mixture begins to thicken and emulsify. -
Step 3
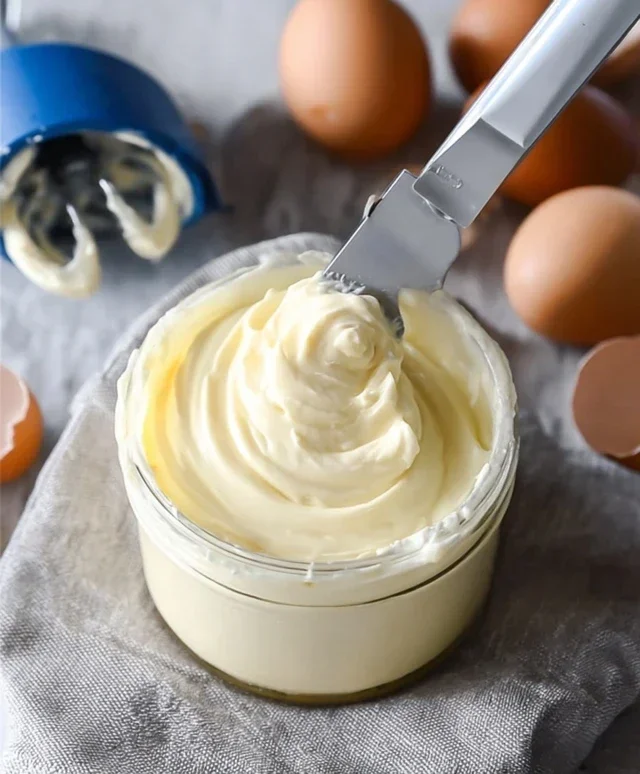
Continue to add the oil in a thin, steady stream, whisking vigorously, until all the oil is incorporated and the mayonnaise is thick and creamy. -
Step 4
Whisk in the tablespoon of water to reach your desired consistency. If it’s too thick, add a little more water, 1/2 teaspoon at a time. -
Step 5
Taste and adjust seasoning if necessary. Transfer the mayonnaise to an airtight container. -
Step 6
Refrigerate for at least 30 minutes before serving to allow the flavors to meld.
Important Information
Nutrition Facts (Per Serving)
It is important to consider this information as approximate and not to use it as definitive health advice.
Allergy Information
Please check ingredients for potential allergens and consult a health professional if in doubt.